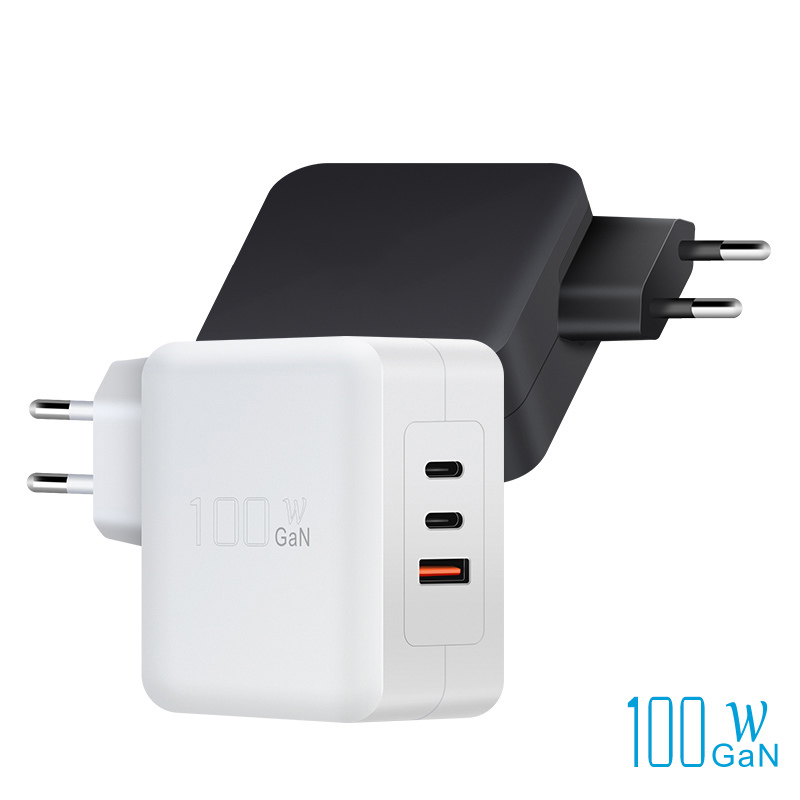
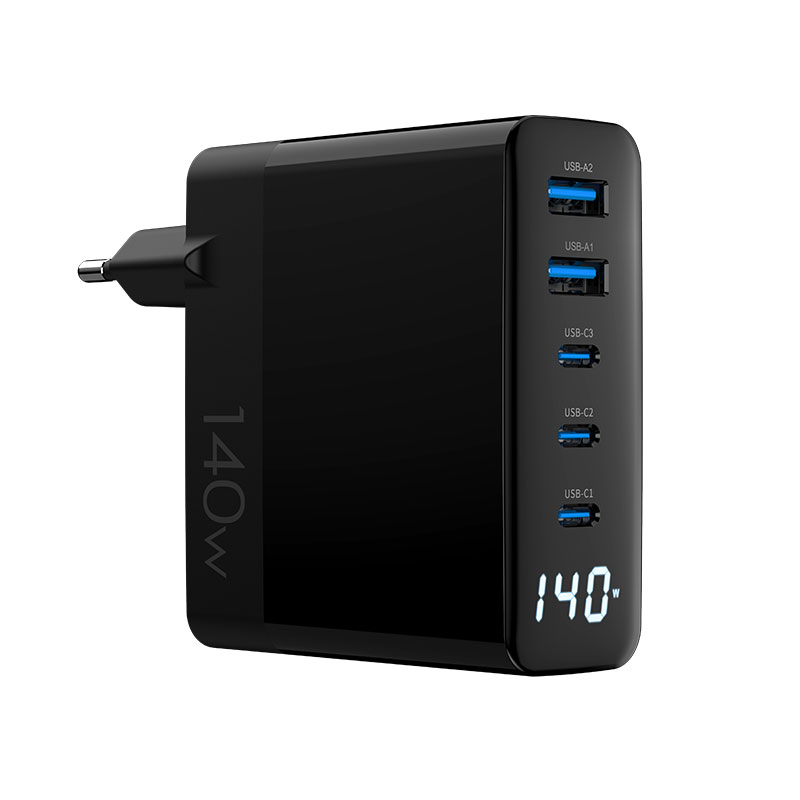
Port layout is the most underrated spec in desktop chargers: the same electronics in the wrong layout feels broken, while a good layout makes the desk look organized. This guide covers orientation, spacing, indicators and cable management — the decisions that turn a charger into a desk product.
Why port layout determines desk usability
A desktop charger sits in view and in reach, so every interaction is visible: plugging in, unplugging, checking indicators, routing cables. Layout decides whether those interactions are effortless or annoying. A charger whose ports face the wall requires blind plugging; one whose ports face the user creates a cable tangle across the desk. Usability is the sum of these small decisions.
Desk usability is a sequence of tiny interactions: reaching for the charger, aligning the connector, checking the indicator, routing the cable. Each interaction either feels natural or adds friction, and the sum decides whether users love or tolerate the product. Power supply design references cover the electrical side thoroughly; the physical side is equally a design discipline, and it is the part users judge every day. A layout that works blind and one-handed is the quiet winner in daily use.
Port orientation: top, front and side exits
Each orientation has a use case:
- Top-facing ports: cables go up and over, tidy for a shallow desk but collect dust.
- Front-facing ports: easiest to see and plug blind-free, but cables run across the desk.
- Side-exit ports: cables route along the desk edge, best for cable management.
The best desktop chargers combine orientations: high-wattage laptop ports on the side for permanent cables, front-facing accessory ports for frequent plugging.
Orientation interacts with cable type: stiff braided cables resist sharp bends, so a side-exit port with a gentle radius suits them, while flexible round cables accept top-facing ports easily. The USB-C connector itself is reversible, which removes one friction point, but the cable's bend radius and the port's approach angle remain physical constraints. Designers should prototype with the actual cables of the target wattage — a layout that works with thin phone cables can fail with thick 100W braided ones.
Orientation also interacts with the USB-C standard's reversible connector: alignment friction is gone, but cable exit angle and strain remain physical decisions. High-wattage cables are stiffer, so the port's exit direction should match the cable's natural bend. Power supply design references describe the thermal and electrical constraints that shape layout choices, and USB PD defines the negotiation the ports must serve. Testing the layout with the target cables before tooling is the difference between a product and a prototype.
Spacing for thick cables and connectors
Port spacing is a physical constraint that spec sheets ignore: thick braided cables and wide connectors occupy real space, and ports spaced too tightly make adjacent plugs impossible. The rule is to test with the actual cables users will use — a 65W charger with four ports may only accept two braided 100W cables side by side. Print the spacing requirement into the design brief.
Indicator lights and visual feedback
Indicators answer three questions: is it powered, is it charging, and which port is active. A single power LED answers the first; per-port indicators answer the rest. The design trade-off is brightness and placement — a light that is blinding at night or invisible in daylight fails its purpose. Ambient dimming or a placement away from the user's line of sight solves both.
Cable management in the product design
Cable management is a product feature, not a user habit: built-in channels, weighted bases, and exit routing that keeps cables flat and parallel. A charger that forces users to fight cables loses to one that guides them. For OEM designs, cable management belongs in the tooling — molded channels and recessed cable exits cost little at production and a lot to retrofit.
Evaluating port layouts before sourcing
Evaluate a layout with a checklist: can every port accept its rated cable, are the frequently used ports reachable without moving the charger, do indicators show useful state, and does the cable routing stay clean with a full load. The evaluation needs real cables and real devices, not drawings. A layout that passes the checklist survives the desk; one that fails it generates returns.
How port layout affects warranty and repair access
Layout also affects serviceability: ports stressed by cable pull fail sooner, and a charger whose ports are soldered to a main board that is hard to access costs more to repair. Design for cable strain relief at every port, and route high-wear ports to the same board edge so warranty repair is a board swap, not a teardown. The layout decision is a warranty-cost decision in disguise.
Testing a layout with real cables and devices
The test is physical: load every port with the thickest rated cable, plug and unplug each port a hundred times, and check that connectors stay snug and cables do not fight each other. Test with the charger in its intended position (under a monitor, on a shelf) and with both hands — a layout that requires two hands to unplug is a one-hand failure in daily use.
Port layouts for left- and right-handed users
Handedness matters more than most designers assume: a right-handed user reaches the right edge naturally, and a charger's ports on the left create a reach-around. Symmetric layouts avoid the question; asymmetric layouts should put frequently used ports on the dominant-hand side of the desk, not of the charger. For shared desks, symmetric is the safer default.
Matching layout to charger wattage tiers
Layout should follow wattage: 20–45W chargers are travel products where compactness wins and ports face one direction; 65–100W desktop chargers benefit from mixed orientation; 140W+ stations justify per-port indicators and premium cable management. A layout designed for the wrong tier feels either wasteful or cramped. Match the layout ambition to the wattage and the buyer.
The tier-to-layout match is a product decision worth writing down: travel tiers get compact single-direction layouts, desktop tiers get mixed orientation, and station tiers get per-port indicators and management features. The certified desktop charger range follows this logic, which is why the lineup reads as a family rather than a pile of SKUs. Documenting the rule in the design brief keeps every new tier consistent with the last one, and it gives marketing a simple story per tier. The layout spec is the industrial designer's version of the electrical spec — equally binding and equally testable.
Common layout mistakes in first designs
The recurring mistakes: ports too close for braided cables, all ports facing the same direction so the cable bundle becomes a knot, indicators that face away from the user, and no strain relief on the most-used port. Each is fixable at the design stage and expensive after tooling. Reviewing layouts against these five mistakes before production is the cheapest quality gate in the project.
The recurring mistakes share a root cause: designing from the schematic instead of the desk. Ports spaced for bare connectors, not for cable boots; indicators that face the wall; and no thought for how the charger sits under a monitor arm. The certified charger options that survive retail feedback are the ones tested with real cables in real desk positions. The fix is a physical prototype round with the target cables before tooling — cheap insurance against a product that looks right in renderings and wrong on the desk.
FAQ
What is the best port layout for a desktop charger?
It depends on the desk: side-exit ports for permanent laptop cables plus front-facing ports for accessories works for most desks. Test with the real cables before committing.
Why do ports need spacing in a charger?
Thick braided cables and wide connectors occupy real space; tightly spaced ports reject them. Spacing is a physical constraint that only shows up with real cables.
Should desktop charger ports face up or front?
Up-facing is tidy but collects dust; front-facing is easiest to plug blind-free but adds cable clutter. Mixed orientation — side for permanent, front for frequent — is the practical best.
How does port layout affect warranty?
Ports stressed by cable pull fail sooner, and layouts that are hard to repair cost more per claim. Strain relief and serviceable port placement reduce both.
Designing a desktop charger with the right layout? Send your form-factor and target desks to our team through the contact page — we can build and test layouts with real cables and devices before tooling.
This article is part of Desktop & Multi-Port Charging, the guide that covers this topic in decision order.